Continuous API testing
Have you run the API tests locally? If not then please have a look at the getting started with local testing article. Dredd has built-in support for it and with Apiary test reporter becomes an invaluable tool.
The continuous API testing using Dredd is easy to setup on all major CI systems. Travis CI and Circle CI cloud solutions are supported out of the box.
When testing in CI, always pin your Dredd version to a specific number (in examples below represented by x.x.x) and upgrade to newer releases manually.
Circle CI
The dredd init command can create or add to existing .circleci/config.yml configuration, or add lines by hand to the .circleci/config.yml file below.
version: 2
jobs:
  build:
    docker:
      - image: circleci/node:latest
    steps:
      - checkout
      - run: npm install dredd@x.x.x --no-optional --global
      - run: dredd apiary.apib http://127.0.0.1:3000
Travis CI
Travis CI is again easy to set up, just add following lines to .travis.yml file.
before_install:
  - npm install dredd@x.x.x --no-optional --global
before_script:
  - dredd apiary.apib http://127.0.0.1:3000
Jenkins CI
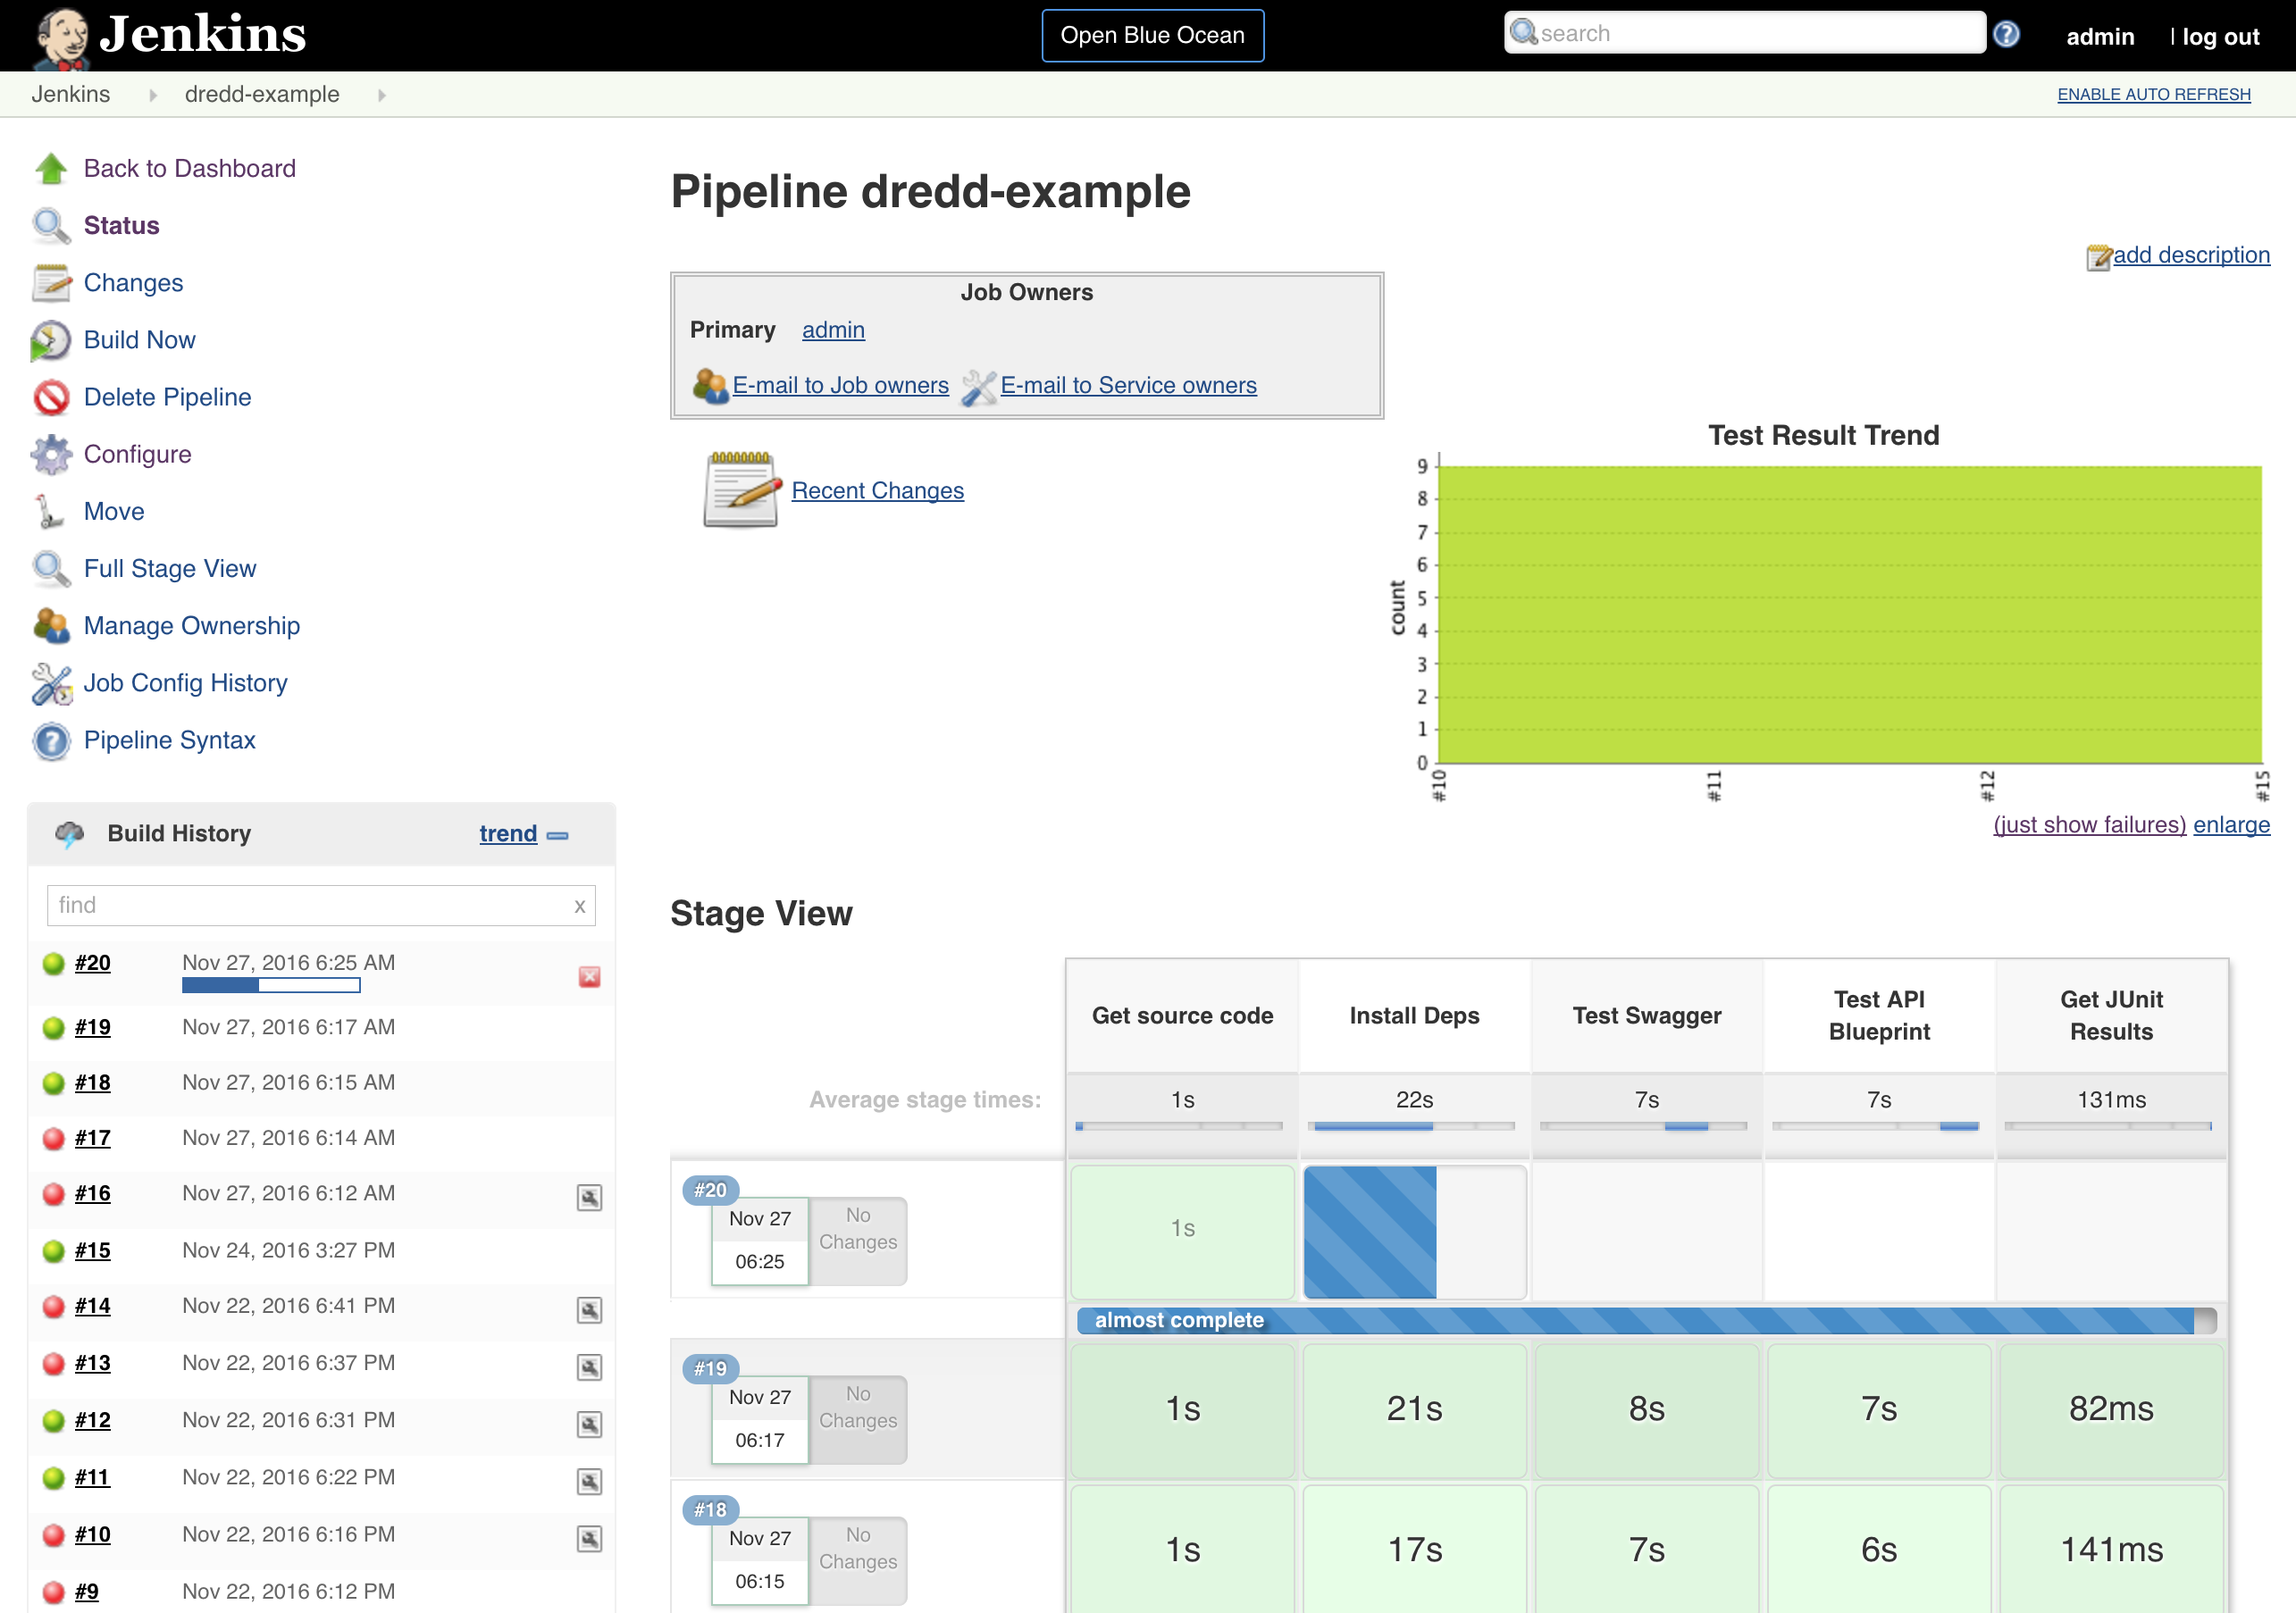
For the most used on-premise open source solution Jenkins CI we recommend using Continuous Delivery Pipelines as in our example using dredd-example repository.
Jenkins CI needs plugins and to setup nodes for using Node.js plus all dependecies required by the application under the test (in dredd-example case, MongoDB database is needed). We use node with name node6 where Node.js v6 is installed. You can use Node.js plugin or Docker or configuration management (Ansible, Chef, Puppet, SaltStack) to create the machine with Node.js and MongoDB. We use AnsiColor plugin to support terminal colors in Jenkins for better readability of the build output.
The example combines Apiary reporter with JUnit reporter. Thanks to the reporter and a jUnit plugin we can collect Dredd testing statistics in Jenkins.
node('node6') {
   stage('Get source code') {
      git url: 'https://github.com/apiaryio/dredd-example.git', branch: 'master'
   }
   stage('Install Deps') {
      if(isUnix()) {
         sh 'node -v'
         sh 'npm -v'
         sh 'npm install'
         sh 'npm -g install dredd@stable'
      } else {
         bat 'node -v'
         bat 'npm -v'
         bat 'npm install'
         bat 'npm -g install dredd@stable'
      }
   }
   stage('Test Swagger') {
      if(isUnix()) {
         wrap([$class: 'AnsiColorBuildWrapper', 'colorMapName': 'XTerm']) {
          sh 'dredd --config ./swagger/dredd.yml --reporter junit --output swagger.xml'
         }
      } else {
         bat 'dredd --config ./swagger/dredd.yml --reporter junit --output swagger.xml'
      }
   }
   stage('Test API Blueprint') {
      if(isUnix()) {
         wrap([$class: 'AnsiColorBuildWrapper', 'colorMapName': 'XTerm']) {
          sh 'dredd --config ./api-blueprint/dredd.yml --reporter junit --output blueprint.xml'
         }
      } else {
         bat 'dredd --config ./api-blueprint/dredd.yml --reporter junit --output blueprint.xml'
      }
   }
   stage('Get JUnit Results') {
      junit 'blueprint.xml'
      junit 'swagger.xml'
   }
}

See the results
You can easily browse all the test runs using the Apiary test reporter. There is a Continuous Integration tab showing only CI test runs.
To be filed under this tab, CI environment must be set. This is done automatically for you by major Continuous Integration providers, but it may need to be populated manually in special cases like running in a containerised environment.
