
Interactive Documentation
Apiary interactive documentation is an interactive representation of your API Description for you to not only read and write, but to be a place where you can interact with your API—even before you’ve built it.
Overview
The interactive documentation contains two main columns: the human and machine columns. These two columns provide the separation that is important for reading the documentation and actually using tooling to interact with it.
Human Column
The human column provides visibility into the long-form description of your API. When you write your API Description, the goal is to write it as you would any other document you mean for other humans to read and consume. Of course, the benefit is that you get the machine tools on top of the readability. The documentation makes this separation so you can have everything in one place that is meant to be read by humans.
Table of Contents
A table of contents (ToC) is generated from the outline of your API Description. It will be grouped together by resource groups. For those resources that are not within a resource group, they will be grouped under a “Default” heading.
Permalinks
Each action in your documentation gets its own permalink for deep linking; simple click on any action within your documentation and copy the URL (from the address bar) for that section.
Custom Permalinks
To add a new custom permalink, simply add a new <a> tag with a name attribute to your API Description Document (API Blueprint, or Swagger); for instance—<a name="foo" />.
Then if you navigate to that permalink via…
https://{yourSubdomain}.docs.apiary.io/#foo
…, API Documentation will automatically scroll to the position of the <a name="foo" /> tag.
The same applies to the Apiary Embed, e.g. if your API Documentation is running at developer.google.com, by going to developer.google.com/#/foo it’ll automatically scroll to the correct position.
Note: Please make sure you have permalinks enabled.
If you would like to link to the ‘foo’ section within the API Documentation, you can add another <a> tag pointing to #foo to your API Description Document.
<a href="#foo">Click here!</a>
When you click the ‘Click here!’ link, it’ll take you to the position of the ‘foo’ section; this works for both Apiary API Documentation and Apiary Embed.
Machine Column
The machine column displays the information that clients and servers will be interested in when interacting with your API or Apiary’s mock and debugging servers.
Table of Parameters
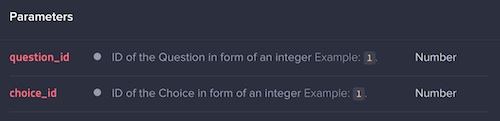
When you define a resource in your API Description, you may use a URI Template. When doing so, you define your parameters in a parameters section within your resource.
## Choice [/questions/{question_id}/choices/{choice_id}]

+ Parameters
    + question_id (required, number, `1`) ... ID of the Question in form of an integer
    + choice_id (required, number, `1`) ... ID of the Choice in form of an integer
In the machine column, a nice table will be generated from this information.
Code Examples
Apiary generates code samples in a variety of languages. Please check out the Code Examples documentation on how you can use this.
Attributes
When you write a blueprint and use MSON, Apiary will provide a table to display this information.
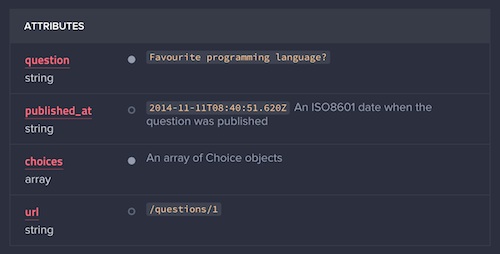
These attributes come from the section of your blueprint where you define the attributes for either a given resource, request, or response. Apiary will generate JSON bodies and JSON Schema from your attributes, which are also shown in the machine column.
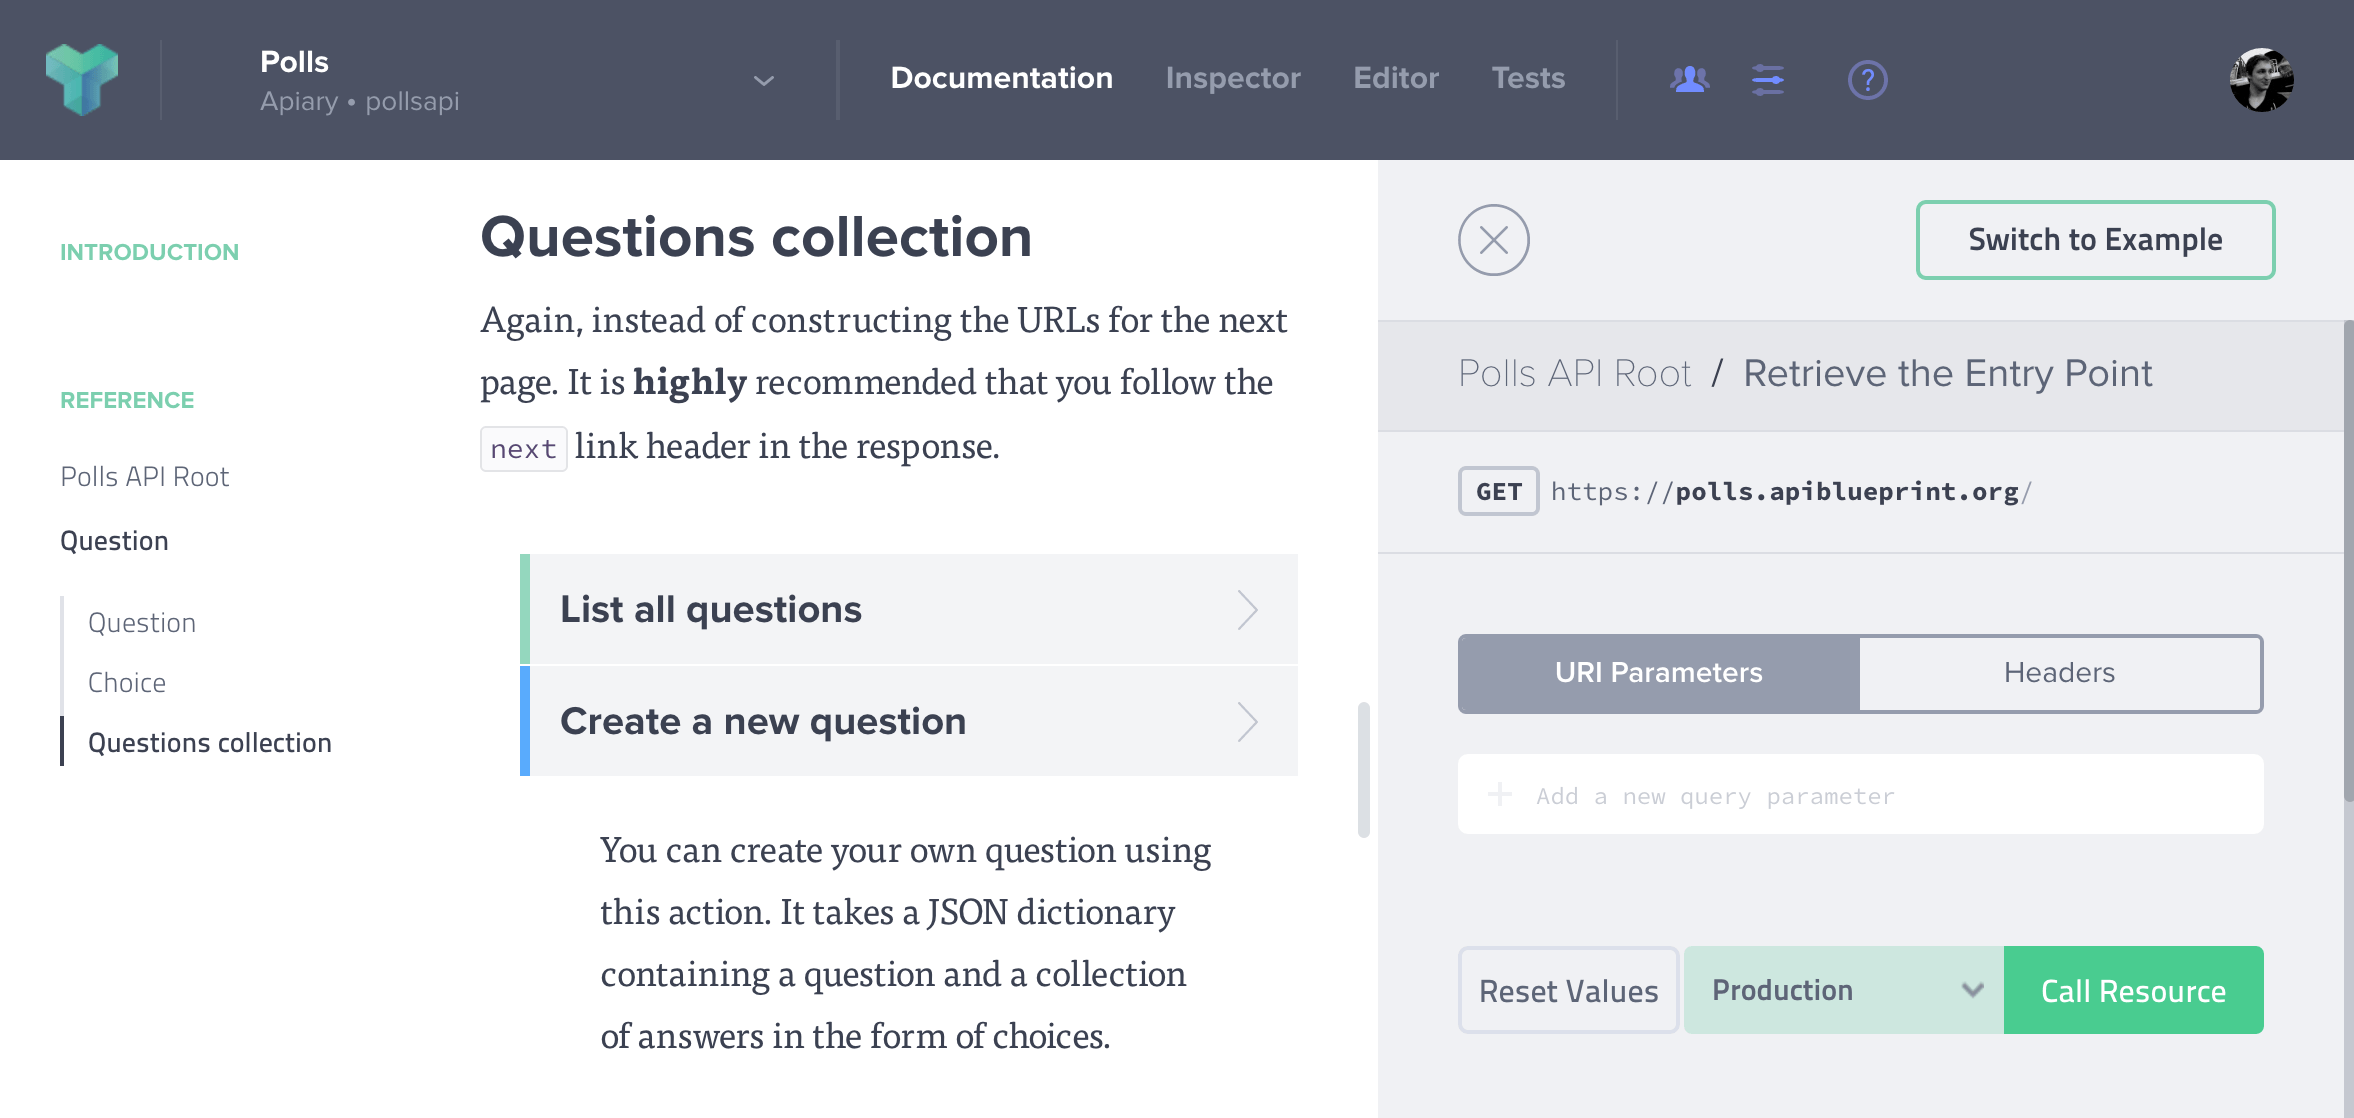
Console
The console in the machine column is used for creating requests to your production server, mock server, and debugging server. You can get to this by clicking the “Switch to Console” link in the machine column.

The console allows for edit the URL variables or HTTP headers of the request. You can then view a comparison of your request and response against what is defined in your API Description. Additionally, you can see code examples for the given request.
Your documentation can also be customized and embedded in your site through our embeddable documentation, which is available as part of Apiary Standard.
From 9.9.2021 plans are deprecated and the changes are handled upon support request only for the current customers.
Console Modes
The interactive console in the documentation machine column can operate in browser, browser with JS Agent, browser with extension and, cloud mode. All of them have certain benefits, requirements and limitations. Let’s find out which one is the right one for you.
Browser Console
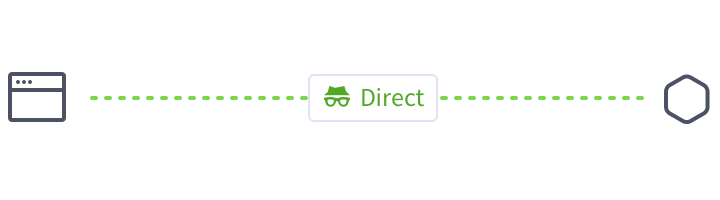
Benefits: The console calls to the API are direct. The data input into the console in the browser is sent to the API directly and received without a use of any infrastructure in the middle. The data is not recorded anywhere just sent to the server and viewed in the browser. You can access APIs not reachable from the internet such those behind the firewall or running on localhost.
Limitations: The request headers may be incomplete because browser’s JS XMLHttpRequest doesn’t expose them. In the browser mode console’s showing the request headers from the specification, but browsers usually add additional headers to the request (i.e Origin, User-Agent etc..)
The response headers may be incomplete if the CORS Access-Control-Expose-Headers response header is missing or restrictive. By default only simple response headers are shown.
Requirements: CORS support in the API — the backend response headers must contain Access-Control-Allow-Origin: *. If the API implements resources with other methods than HEAD, GET and POST, the OPTIONS method has to be supported for pre-flight requests
Cloud Console
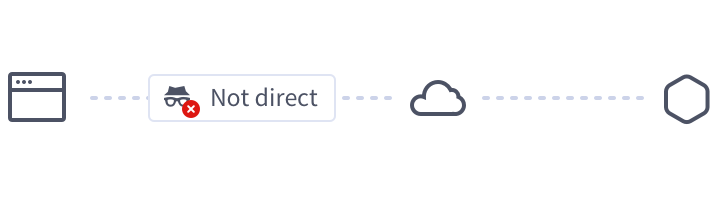
Benefits: Cloud console supports CORS not enabled APIs
Limitations: The console calls to the API aren’t direct. The data from the browser are sent to the Apiary infrastructure, the HTTP request is made from Apiary servers without the CORS limitation and the API response is sent back from Apiary servers to the browser to be shown to the user.
Requirements: The API has to be accessible from the internet.
Browser Console with JS Agent
Browser console with JS Agent is an alternative and easier approach based on the regular Browser Console (thus it’s still using the browser’s JS XMLHttpRequest to talk with your server), but it does not suffer of all the CORS limitations.
To get started with Browser with JS Agent, please consult our dedicated help page. To get this feature enabled, please contact us.
Benefits: It’s easy to install. There’s no need to implement and maintain CORS headers and CORS pre-flight OPTIONS methods for the entire API just for enabling browser console functionality. The developer experience is flawless and complete.
Limitations: Both sent and received payload must be JSON serialisable. While this is true for most of the API payloads (such as JSON objects, XML strings and other formats) you might encounter problems with binary data, if not properly encoded.
Requirements: Your API must expose at least one public endpoint, serving a particular html page. This is required in order to let Apiary’s Console to communicate with your API.
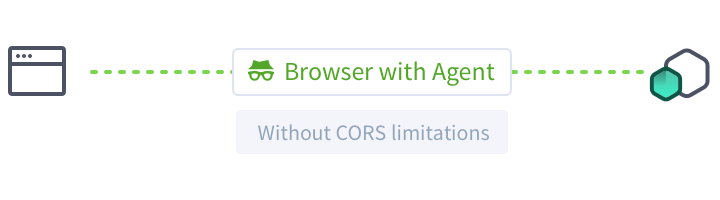
Browser Console with Apiary Browser Extension
Browser console with Apiary Browser Extension is yet another approach based on the regular Browser Console. It’s using the browser’s JS XMLHttpRequest to talk with your server, but it does not suffer of all the CORS limitations.
Benefits: There’s no need to implement and maintain CORS headers and CORS pre-flight OPTIONS methods for the entire API just for enabling browser console functionality. The developer experience is flawless and complete.
Limitations: Both sent and received payload must be JSON serialisable. While this is true for most of the API payloads (such as JSON objects, XML strings and other formats) you might encounter problems with binary data, if not properly encoded.
Requirements: All your users must install the Apiary Browser Extension, or it will fallback to regular Browser Console.
How to install it
Your API stays untouched. You just need to make sure that your users will install the Apiary Browser Extension.
Apiary is offering it on the Google Chrome Store, therefore you can refer to the Webstore documentation directly for more detailed instructions.
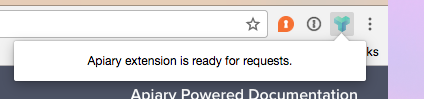
Depending on your browser settings, when you’re using the Apiary Browser Extension on an enabled API Documentation you should be able to see a colorful icon; clicking on it it will confirm that Apiary’s interactive documentation and the extension have correctly established a link.
Persistent HTTP Headers in Console
If you would like to (temporarily) add an HTTP header such as the “Authorization” HTTP header to all actions in the API Documentation, you can do so by pinning the HTTP header.
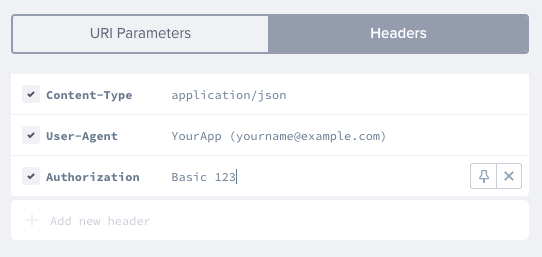
Simply click the ‘pin’ next to the HTTP header.
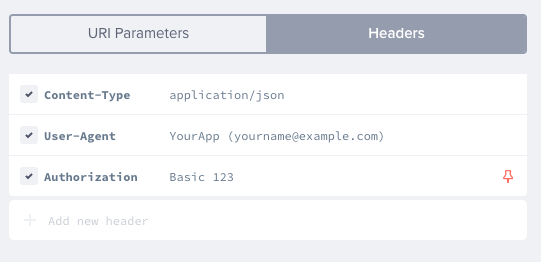
The HTTP header will be automatically added to all actions.
Persistent URI parameters in Console
You can edit URI parameters in the console.
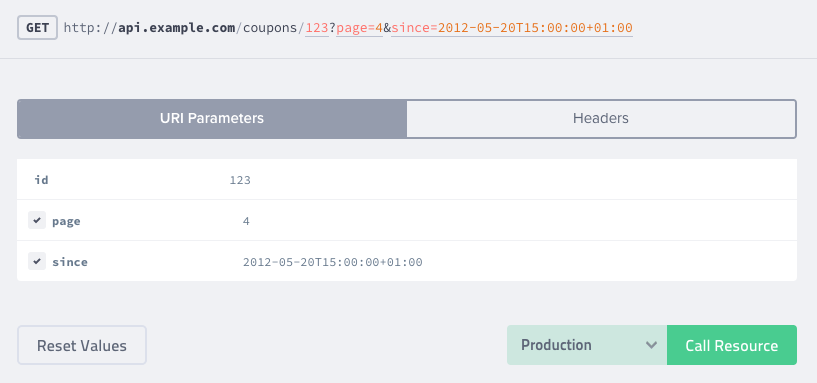
Only the value of a path parameter (e.g. /coupons/{id}, where {id} is a path parameter) can be changed. In the case of query parameters (e.g. /coupons/{id}{?page}, where {?page} is a query parameter) both keys and values can be edited.

By clicking the pin next to the URI parameter, you persist the parameter, and it will be automatically added to all actions.

Above you can notice that the query parameter page has been added to the other action “List all Coupons” in the API Documentation.